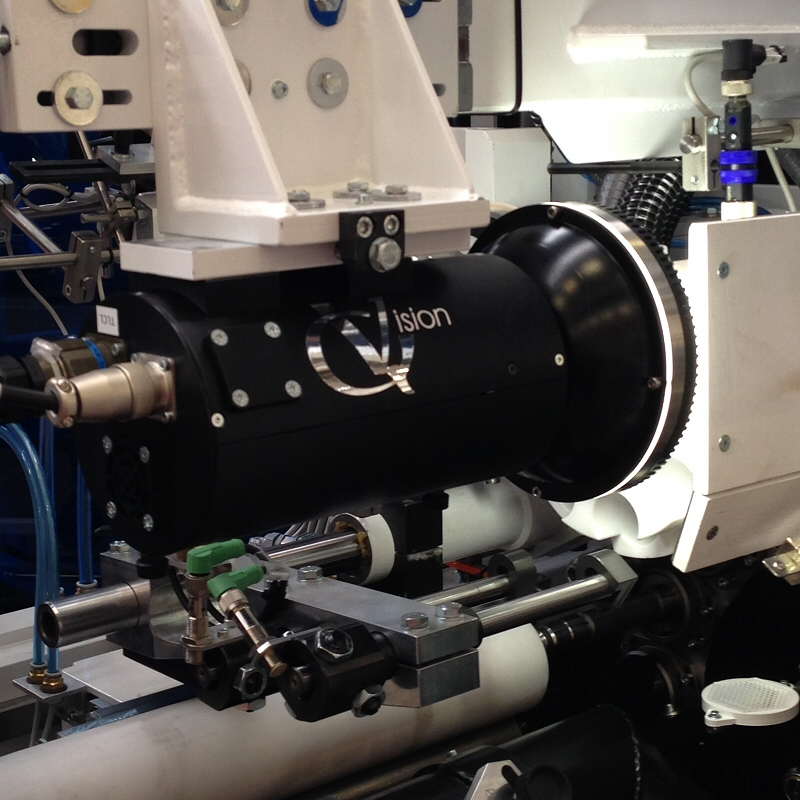
An Artificial Vision System is composed by the integration of optical, electronic and mechanic components, which allow acquiring and processing images both in the visible spectrum and outside of it (infrared, ultraviolet, X-rays, etc.). The processing result is the recognition of some characteristics of the image for different control purposes, measurement, classification, etc…
The artificial vision systems, in industrial field, are automatic systems for quality control and dimensional measurements, which are typically installed on a production line.
This technology can provide many benefits, such as consistency and repeatability, ensuring compliance and quality of 100% of production. It also allows the objectification of quality controls, the reduction of the production costs and an increase of the technological level of the product through the automation of the manufacturing processes.

WHY
The increasing demand for quality, the trend towards zero-defect production, the increasingly tight competition and the need to contain costs, force companies to face a new way of thinking: now a reliable and accurate quality control of each piece is required.
The statistical sampling cannot guarantee the required quality, while the reduction of the size of the components and the use of production methods increasingly automated, flexible and fast, make the manual control absolutely inapplicable, since it is not able to provide the necessary repeatability and stability and, besides, it is prohibitive for the high labor cost.
The digital image processing systems integrate perfectly in this environment as they are able to provide objective data on the quality of products in a repetitive and automatic way. Accuracy of assemblies, surface quality, dimensions, profiles, shapes, colors, placement, can be controlled within a fraction of a second in a precise and documented way.
The automotive industry, cosmetic, mechanical, pharmaceutical, food, packaging and assembly are increasingly relying on artificial vision systems to automate the product control tasks.
Typical applications of artificial vision systems are in fact: the checking of the dimensions and of the outline of objects with extremely high accuracies; the reading and decoding of characters, bar codes and “data matrix code”; the print quality control; the verification of the presence of the various components that make up a piece and the correct assembly of the same; quality control and surface finishing; verification and identification of colors.
But the digital imaging not only applies to issues relating to the quality of production, it constitutes a valid and increasingly indispensable tool to capture and analyze detailed information of what is produced, both in order to automatically track the production (noting for example data such as lot codes, serial numbers, etc.), and to capture information useful in feeding back the production process (measures without contact or reliefs in hostile environments), and finally to recognize the characteristics of the analyzed objects and set the production line accordingly (sorting)
Typical application areas of machine vision systems are:
Measurement
It is possible to verify the geometric and dimensional tolerances of the products. The use of subpixeling algorithms allows to obtain a repeatability of the measurement results up to 1/20 pixels;
Presence verification
The components of a piece can be individually analyzed, it can be checked their correct position, they can be sorted and counted. Complex shapes can be recognized regardless of their possible displacement or rotation
Identification
Symbols and characters can be recognized and verified using neural classification algorithms. The training carried out with standard symbols and the possibility of progressive refinement allows obtaining high accuracy of recognition.Bar code and Data Matrix codes are decoded regardless of the direction and orientation.
Printing inspection
It is possible to check contours and homogeneity of printing, simultaneously analyzing the presence of any defects on the background
Surfaces analysis
It is possible to detect scratches, scuffs, dents and other flaws. Each defect may be classified into several categories depending on characteristics such as dimension, length, shape factor, direction, etc..
Check of position and orientation
The position and orientation of a workpiece can be detected and transferred to a robot or to the process controller to manage the manipulation or to realize closed loop positioning systems
